I’ve come to find out I love to challenge myself with the things many avoid. Alternative process photography is a hole that is almost endlessly deep, and I jumped in head first. I’m going to be talking about the wet-plate or collodion process.
Like many, I started with a 35mm film camera. Then went on to medium format, to large format, and so on. But I wanted more, I wanted to set myself apart. I had read a book on the history of photography and came across all these processes; daguerreotype, albumen, salted paper, and then wet-plate. I remembered always seeing photos from the 1800s of outlaws and aristocrats and was enamored. Turns out they were all wet plates.
Wet plate photography was revolutionary. It was a quicker process, with much higher resolving power. Most commercial photographers of the era practiced wet plate photography. There are 3 types of plates you can make with a wet plate. You can make a tin type which is a positive image on black sheets of tin, Ambrotype which is a positive image on glass and you coat the backside of the plate black, or the glass negative which can be used for contact printing in the darkroom.
The Process
The process is exactly as it sounds, you expose a metal, or glass plate that is wet to make an image. Well, it’s not wet with just water, that would be too easy.
Step 1.
Prepare the Plate:
- Coat your plate with a Collodion Mixture (ethyl, bromide, iodide, collodion). This acts as a substrate for the Silver to adhere to.
- Submerge your plate in a bath of 9% silver nitrate. This is what makes your plate light-sensitive
Step 2.
Expose the Plate:
- Load the sensitized plate into the plate holder under safe light.
- Expose your plate.
- Exposure times can vary widely depending on your environment, these plates are only sensitive to UV light and can not be metered normally.
Step 3.
Develop the Plate:
- Remove the plate from the holder under safe light.
- Develop the image by pouring 20-50 ml of developer across the plate depending on plate size.
- Develop for 15-60 seconds
- Your plate is no longer light sensitive and the lights may be turned on
Step 4.
Fix the plate:
- Rinse the plate under water to remove excess developer
- Immerse the plate in fixer to transform your negative into a positive image
- Rinse the fixed plate thoroughly with water for at least 5 minutes.
- Allow your plate to air dry completely.
Step 5.
Varnish the plate:
- Varnishing helps protect the fragile surface and makes your plate archival
- Heat up your varnish mixture (sandarc,lavender oil) and warm your plate
- Pour your varnish evenly across the surface of your plate and pour off excess back into bottle
- Dry plate in a dust free environment.


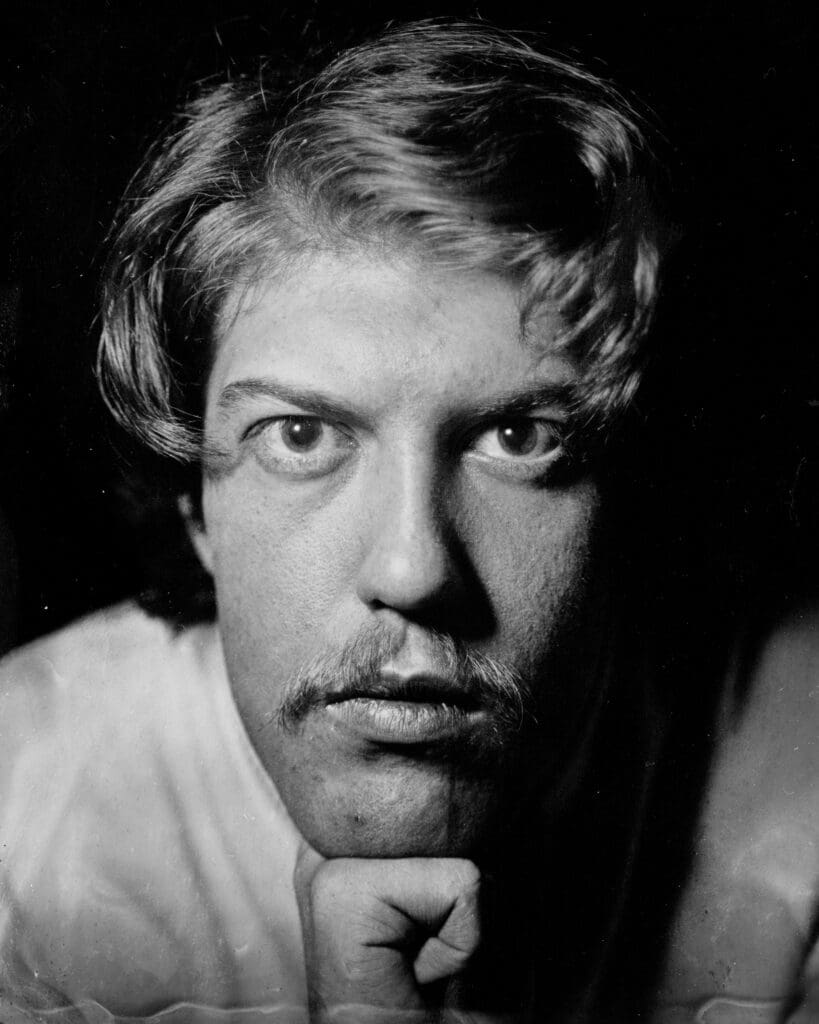
Now I went against the grain when it came to learning this process. I asked many folks on Facebook, forums, and even colleagues. All said this is something you have to learn from someone, take a workshop. But I was stubborn and wanted to do it myself. I spent hours watching videos, reading books, and lurking in wet plate groups on Facebook. That first month of learning was the most frustrating thing I have ever experienced. The amount of little things that affect the final product is what gets you. It is not forgiving. Many of the roadblocks I had to overcome were things such as, learning exposure, finding a powerful enough strobe, mixing the chem properly, dropping plates, over-development, under-development, flipping the lights on too early, spills… many, many spills. Here are some examples of my earliest plates.
The Results
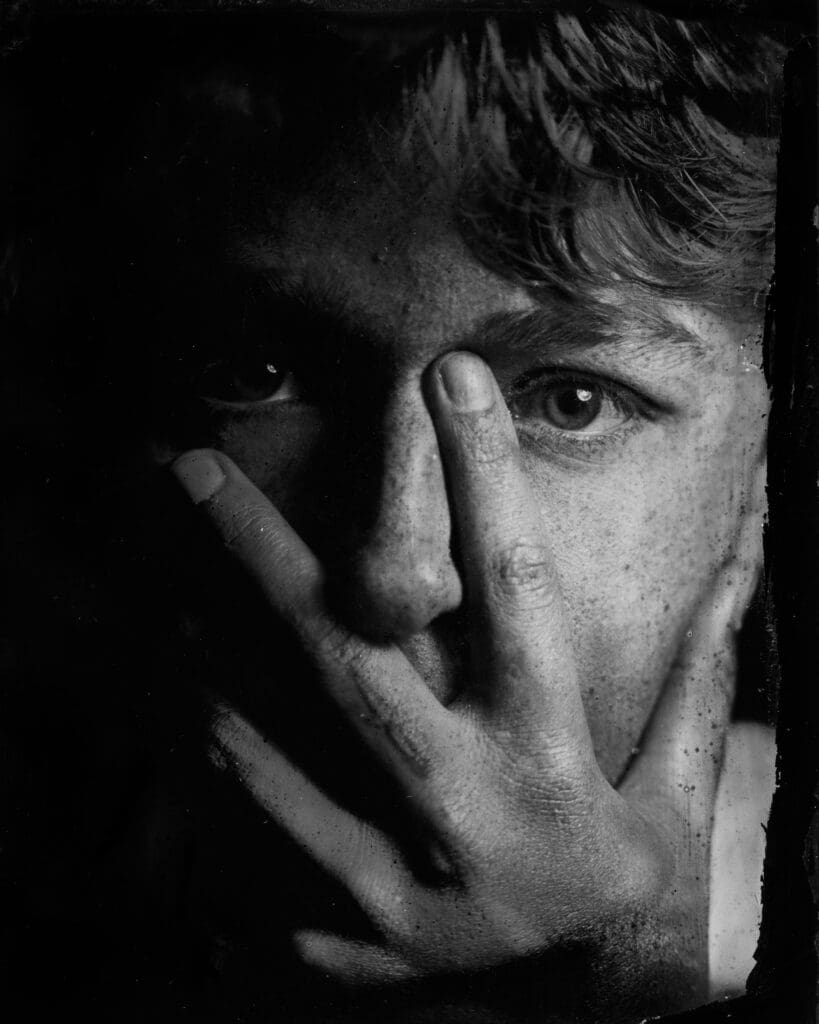
The moment of awe was when I made a portrait that was recognizable as a portrait. I remember being so excited I actually made a picture and I was holding it there in my hands. It was just silver, sitting atop a black piece of tin. The way the plates shine under light, it’s just hard to explain, they lift off the surface, and draw you in. It’s like locking eyes with a person who is just an arm’s length away. From this point forward I was hooked, I found my medium. Now it was time to clean them up, I was still struggling with the cleanliness of the plates, getting artifacts, developer marks/fogging, comets, and oysters. These are all imperfections in the plate that result from a mistake along the way. Comets are from an unmaintained silver bath, oysters are excess silver dripping back onto the plate, etc. Here are some examples.

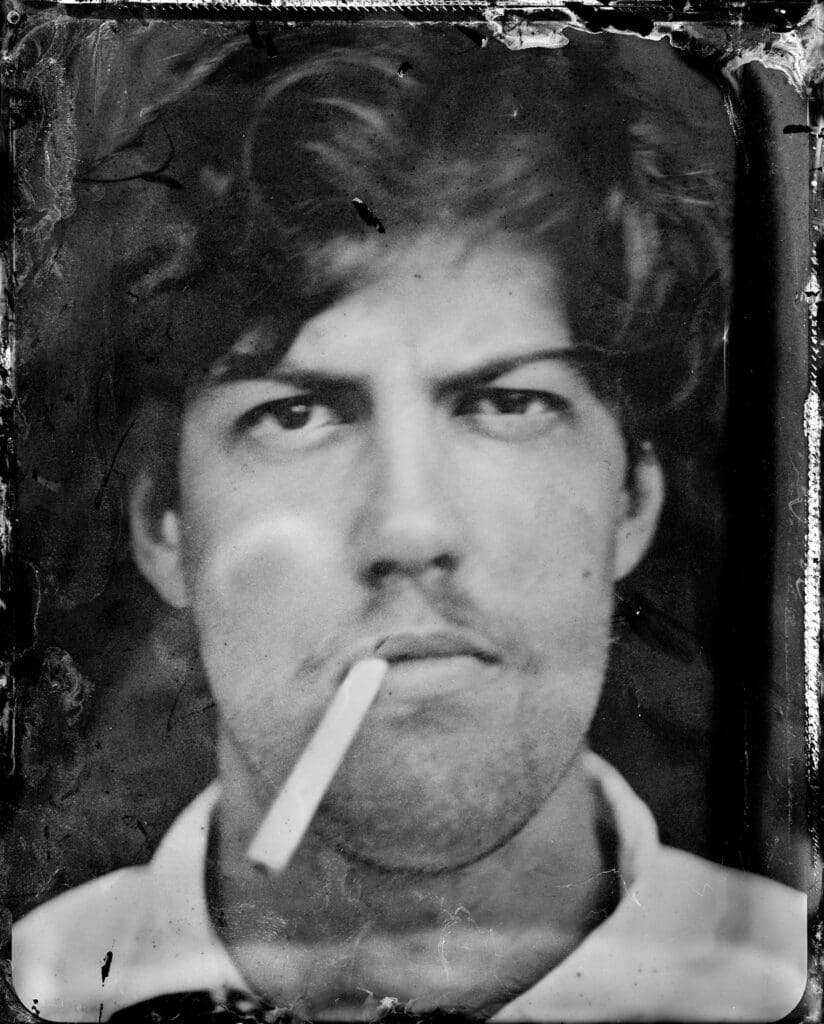
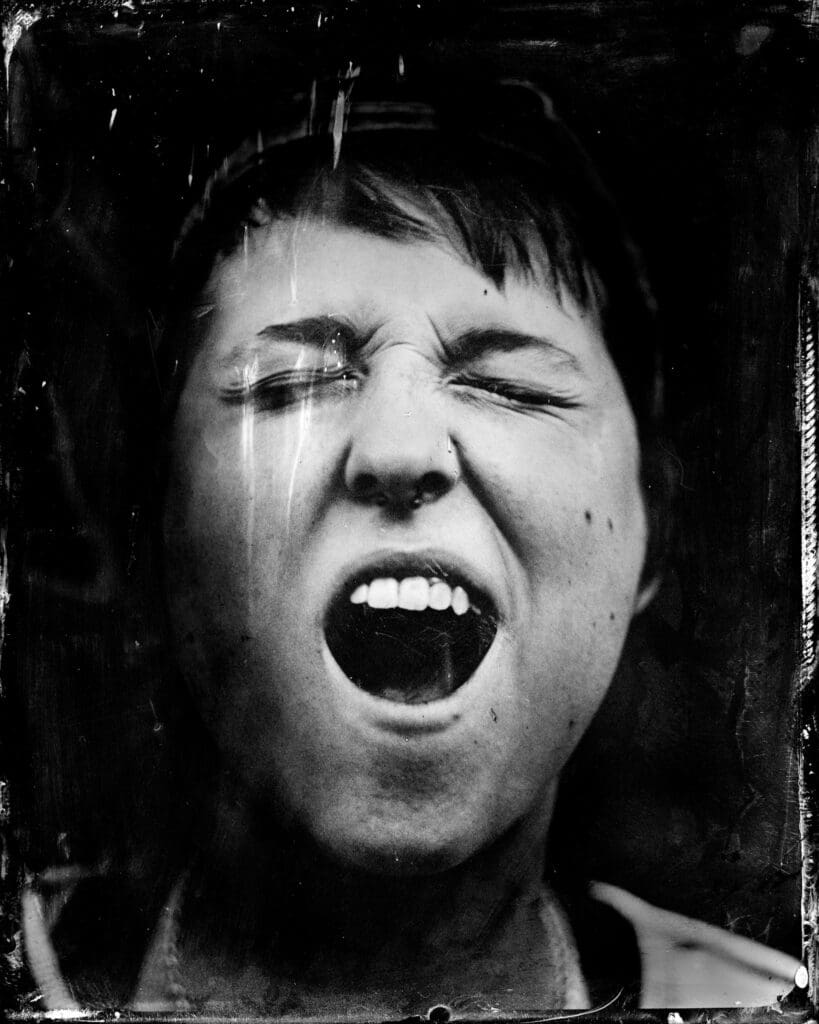
Making plates is like a dance. Each step needs to be conscious and precise while staying in rhythm. What I found to be the solution to my issues was general cleanliness between the steps. Reducing cross-contamination of chemicals leads to many of these issues. I had many towels on hand. But I was slowly getting it, I had my exposure dialed in, I was getting faster, and the plates were coming out cleaner. I learned to lean into many of the imperfections, I felt they emphasized the allure to this medium, and it helped me develop my own look and style. I did it, I taught myself how to make tintypes. I couldn’t have done this without the support of my mentor Nicole White and my many friends who were my test subjects. Here are some examples of my most recent plates.