Continuing on my journey into the world of alternative process photography, I have taken on the challenge of learning how to make kallitype prints. The kallitype process is very similar to platinum palladium printing. This is a process better known to the photography world, and is used by many professionals to showcase their work on. Kallitypes are a more accessible, less toxic alternative to platinum printing. A perfectly executed kallitype print can be indistinguishable from a platinum palladium print.
The process involves sensitizing paper with iron salts and then developing it with silver nitrate to create an image. It’s not as simple as just dipping paper in a solution…
Step 1: Prepare the Paper
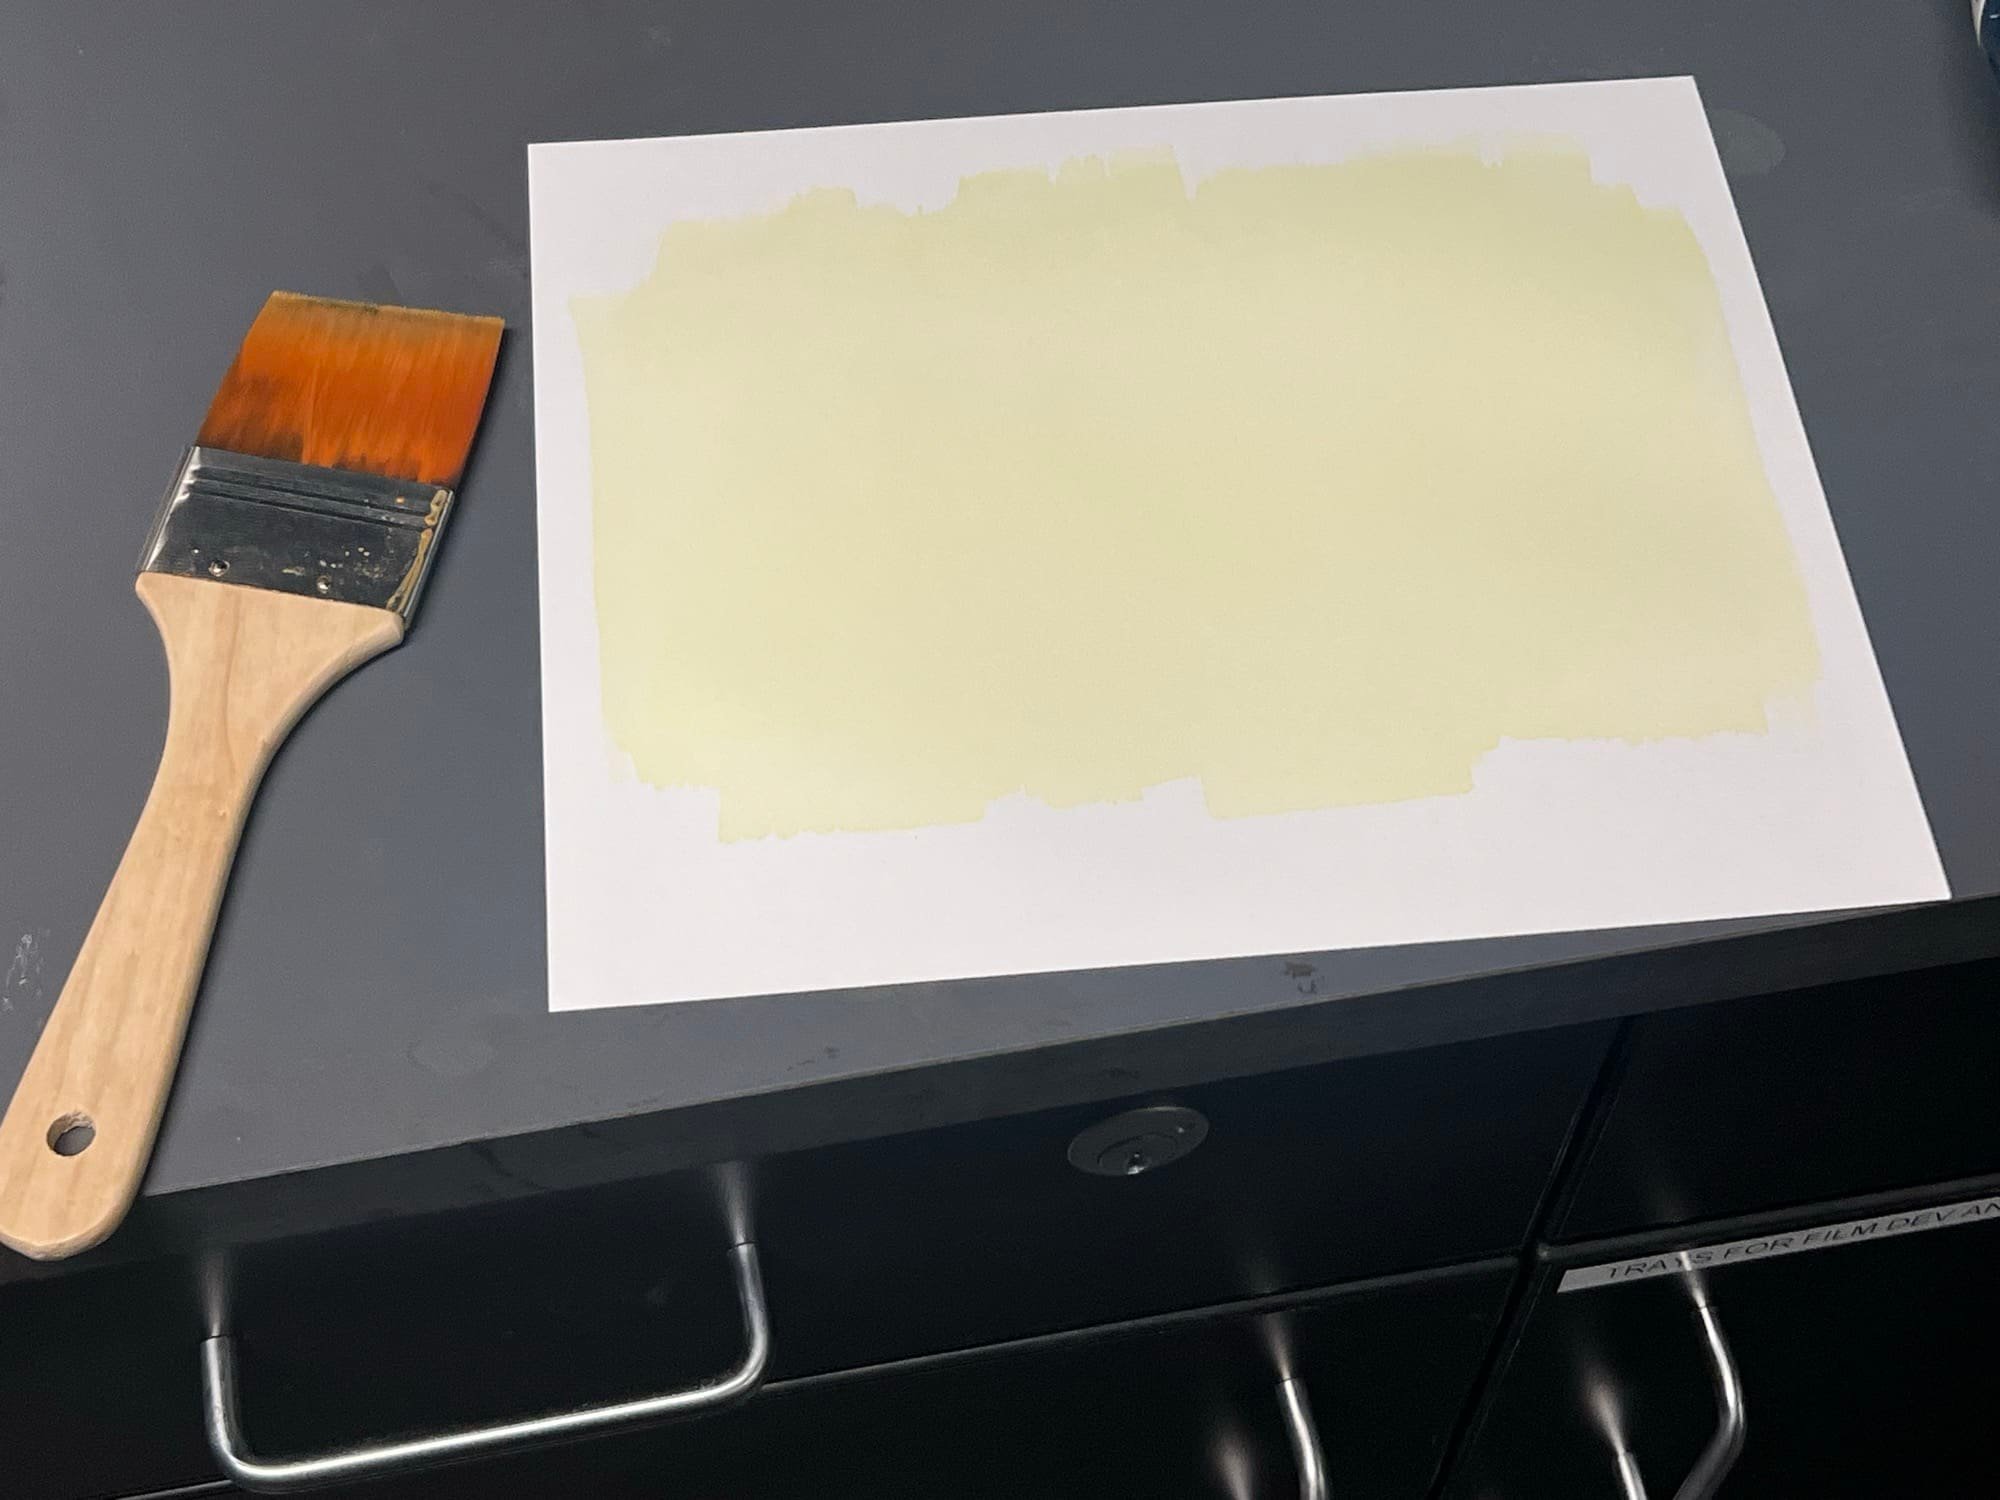
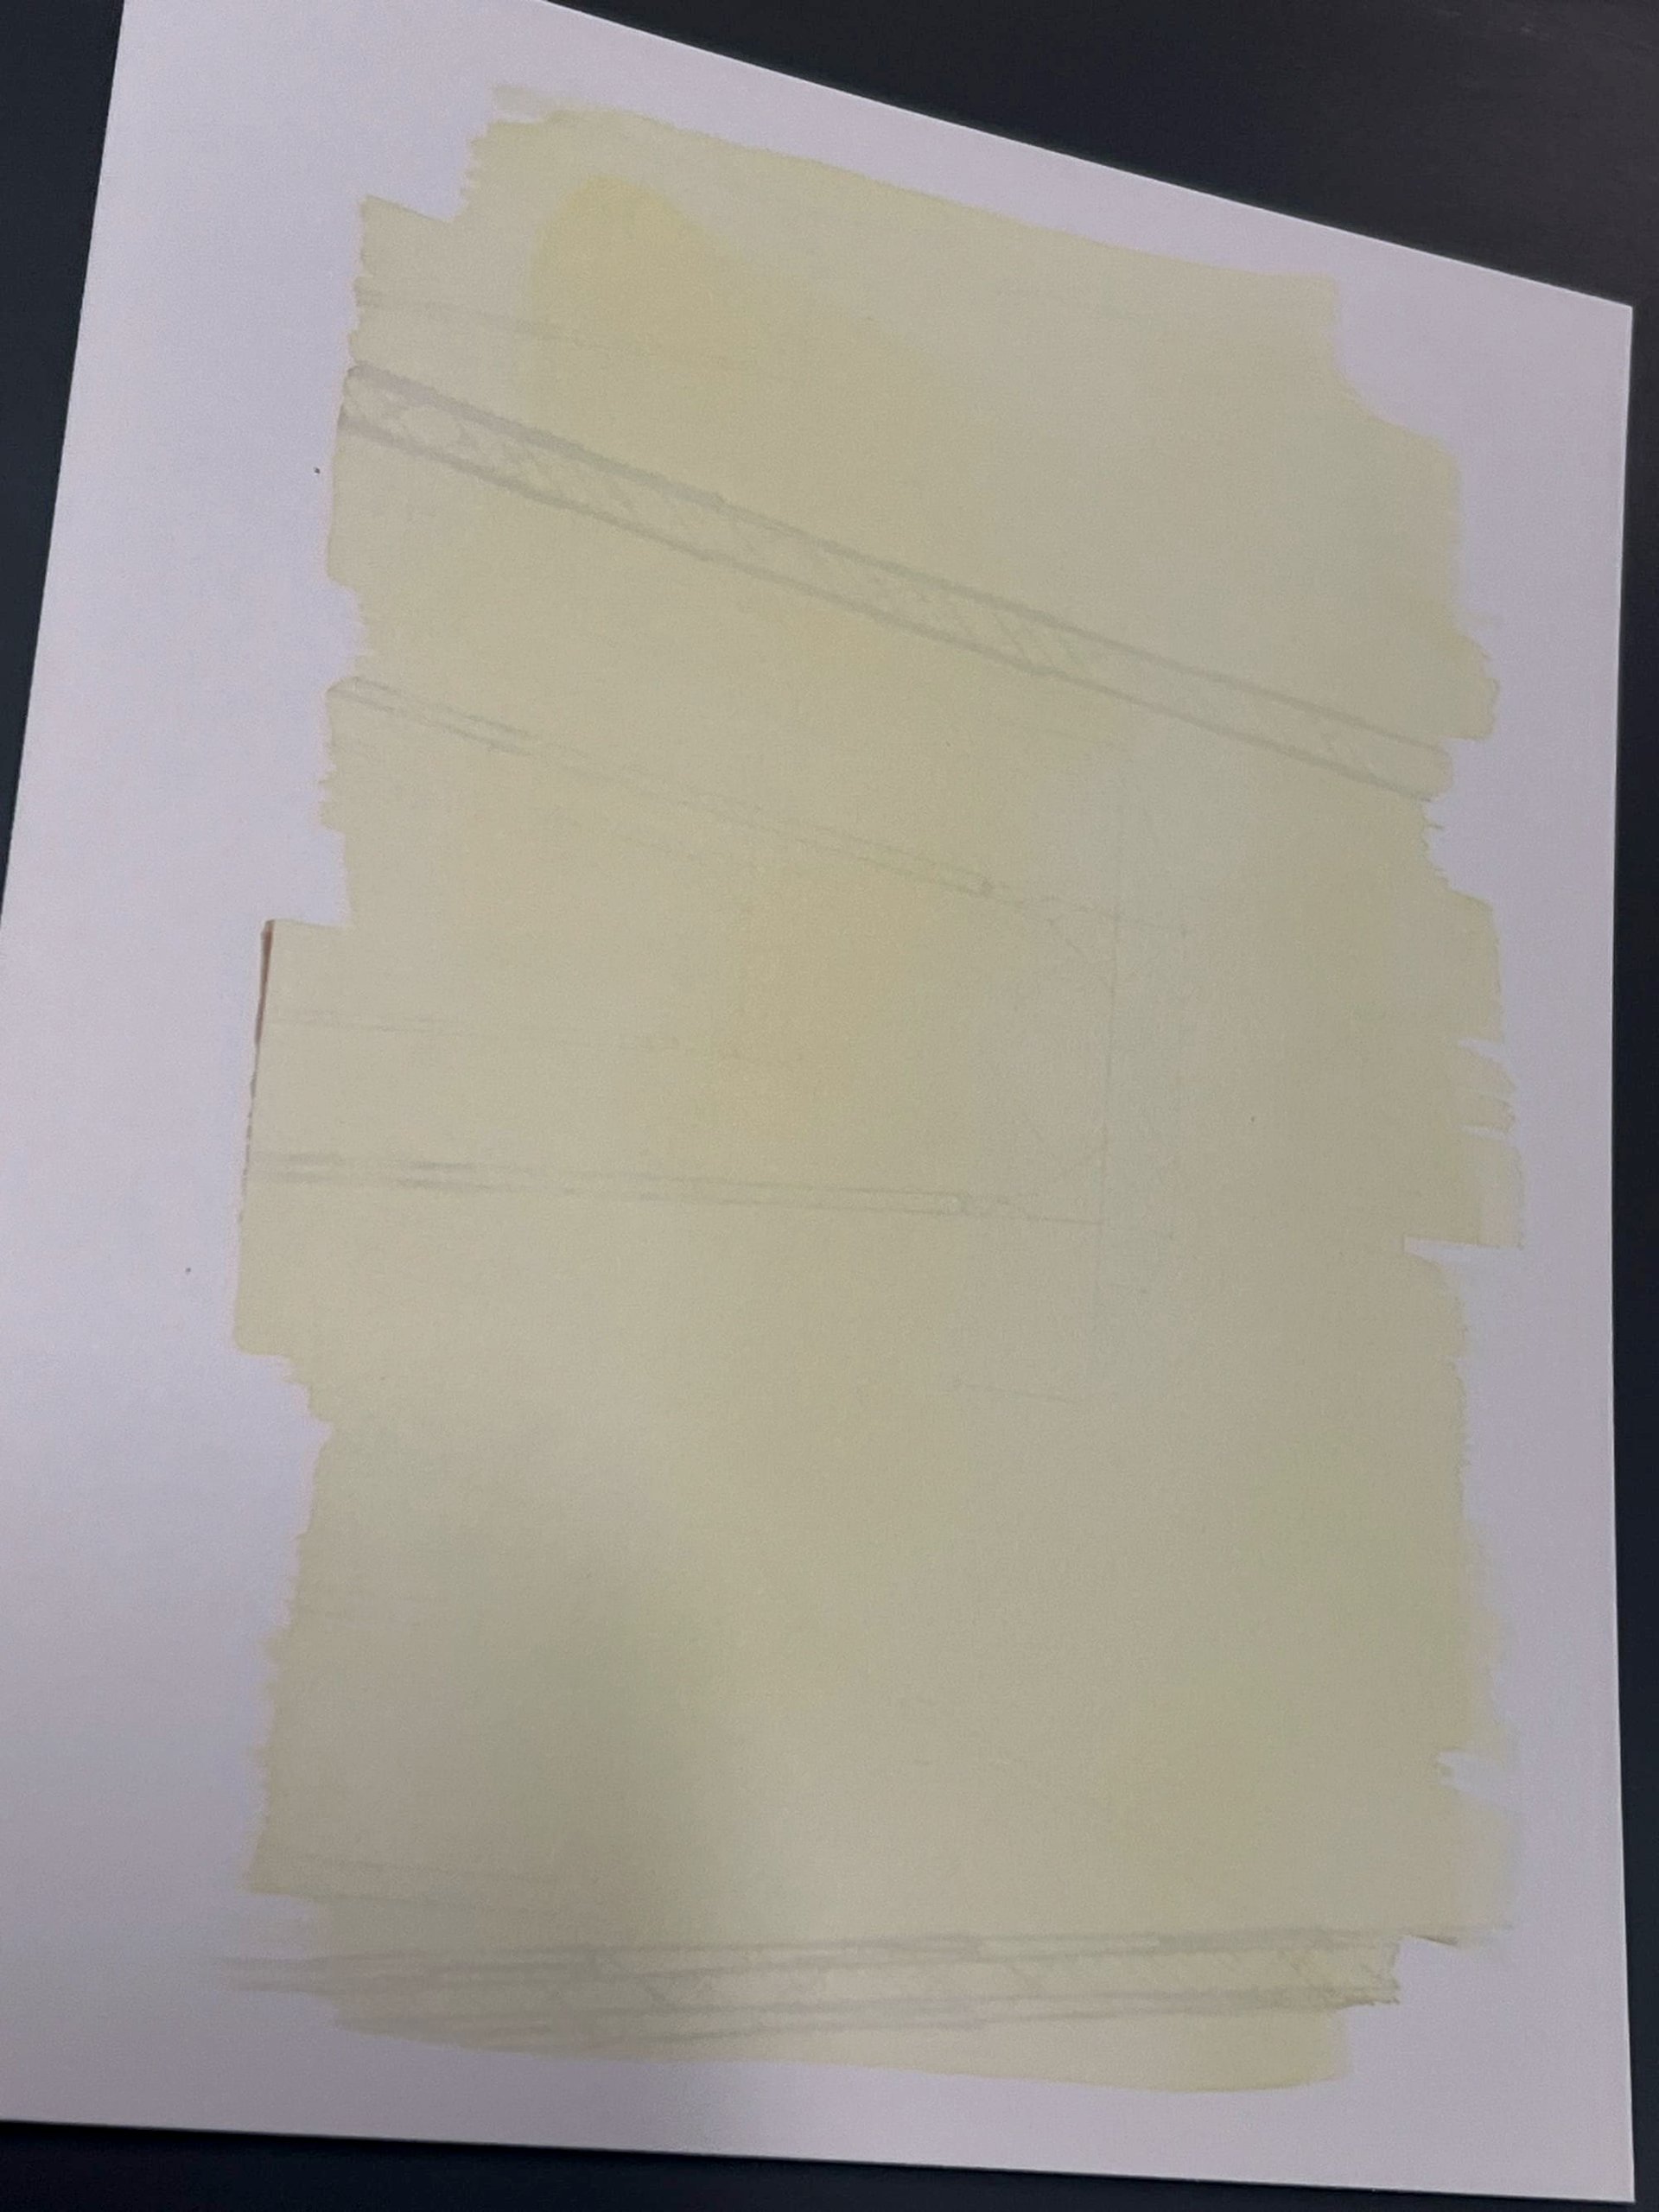
- Coat the Paper:
- Prepare a solution of ferric oxalate and silver nitrate.
- Brush this mixture evenly onto the surface of high-quality watercolor paper.
- Allow the paper to dry in a dark, dust-free environment.

Step 2: Expose the Paper
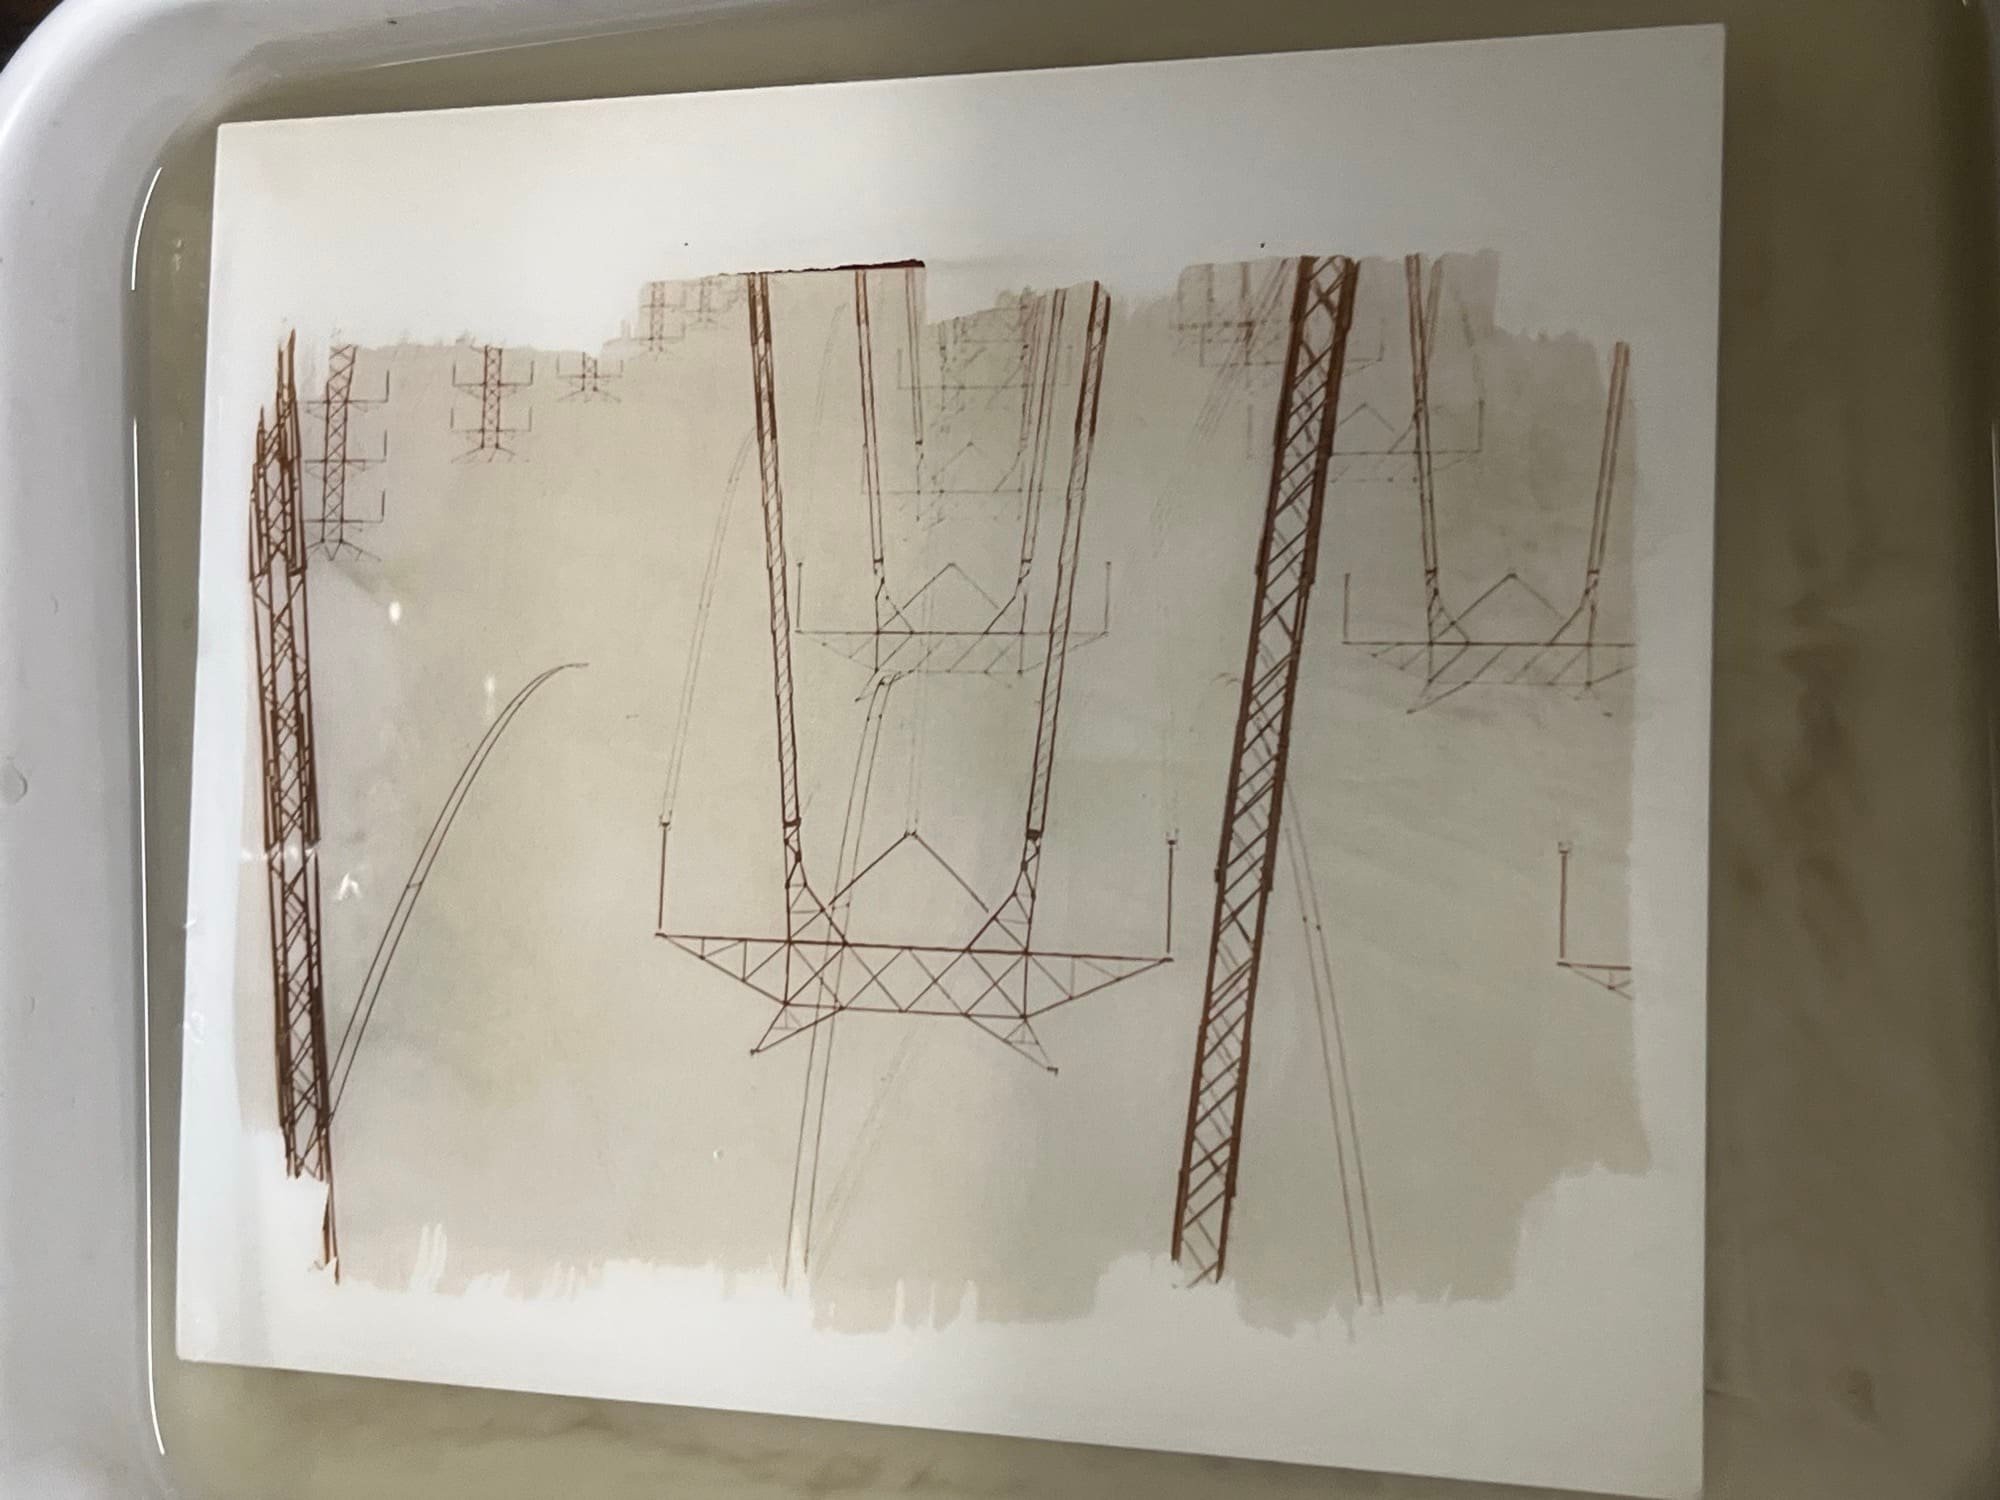
- Expose the Sensitized Paper:
- Place a negative on top of the sensitized paper and sandwich them between a piece of glass.
- Expose the sandwich to UV light (sunlight or a UV lightbox) until the image appears.
Step 3: Develop the Image
- Develop the Image:
- Submerge the exposed paper in a developer solution (typically potassium oxalate or ammonium citrate) to reveal the image.
- Development times can vary, usually around 5-10 minutes.
Step 4: Fix the Image
- Fix the Image:
- Rinse the paper in a water bath to remove excess developer.
- Fix the image by immersing it in a sodium thiosulfate (hypo) solution to make it stable and permanent.
- Rinse the fixed print thoroughly with water for at least 10-15 minutes.
Step 5: Tone the Image (Optional)
- Tone the Image (Optional):
- To enhance the image’s longevity and alter its tonal qualities, immerse the print in a toning solution (e.g., gold or selenium toner).
- Rinse again thoroughly after toning.
Step 6: Dry the Print
- Dry the Print:
- Air-dry the print in a dust-free environment.
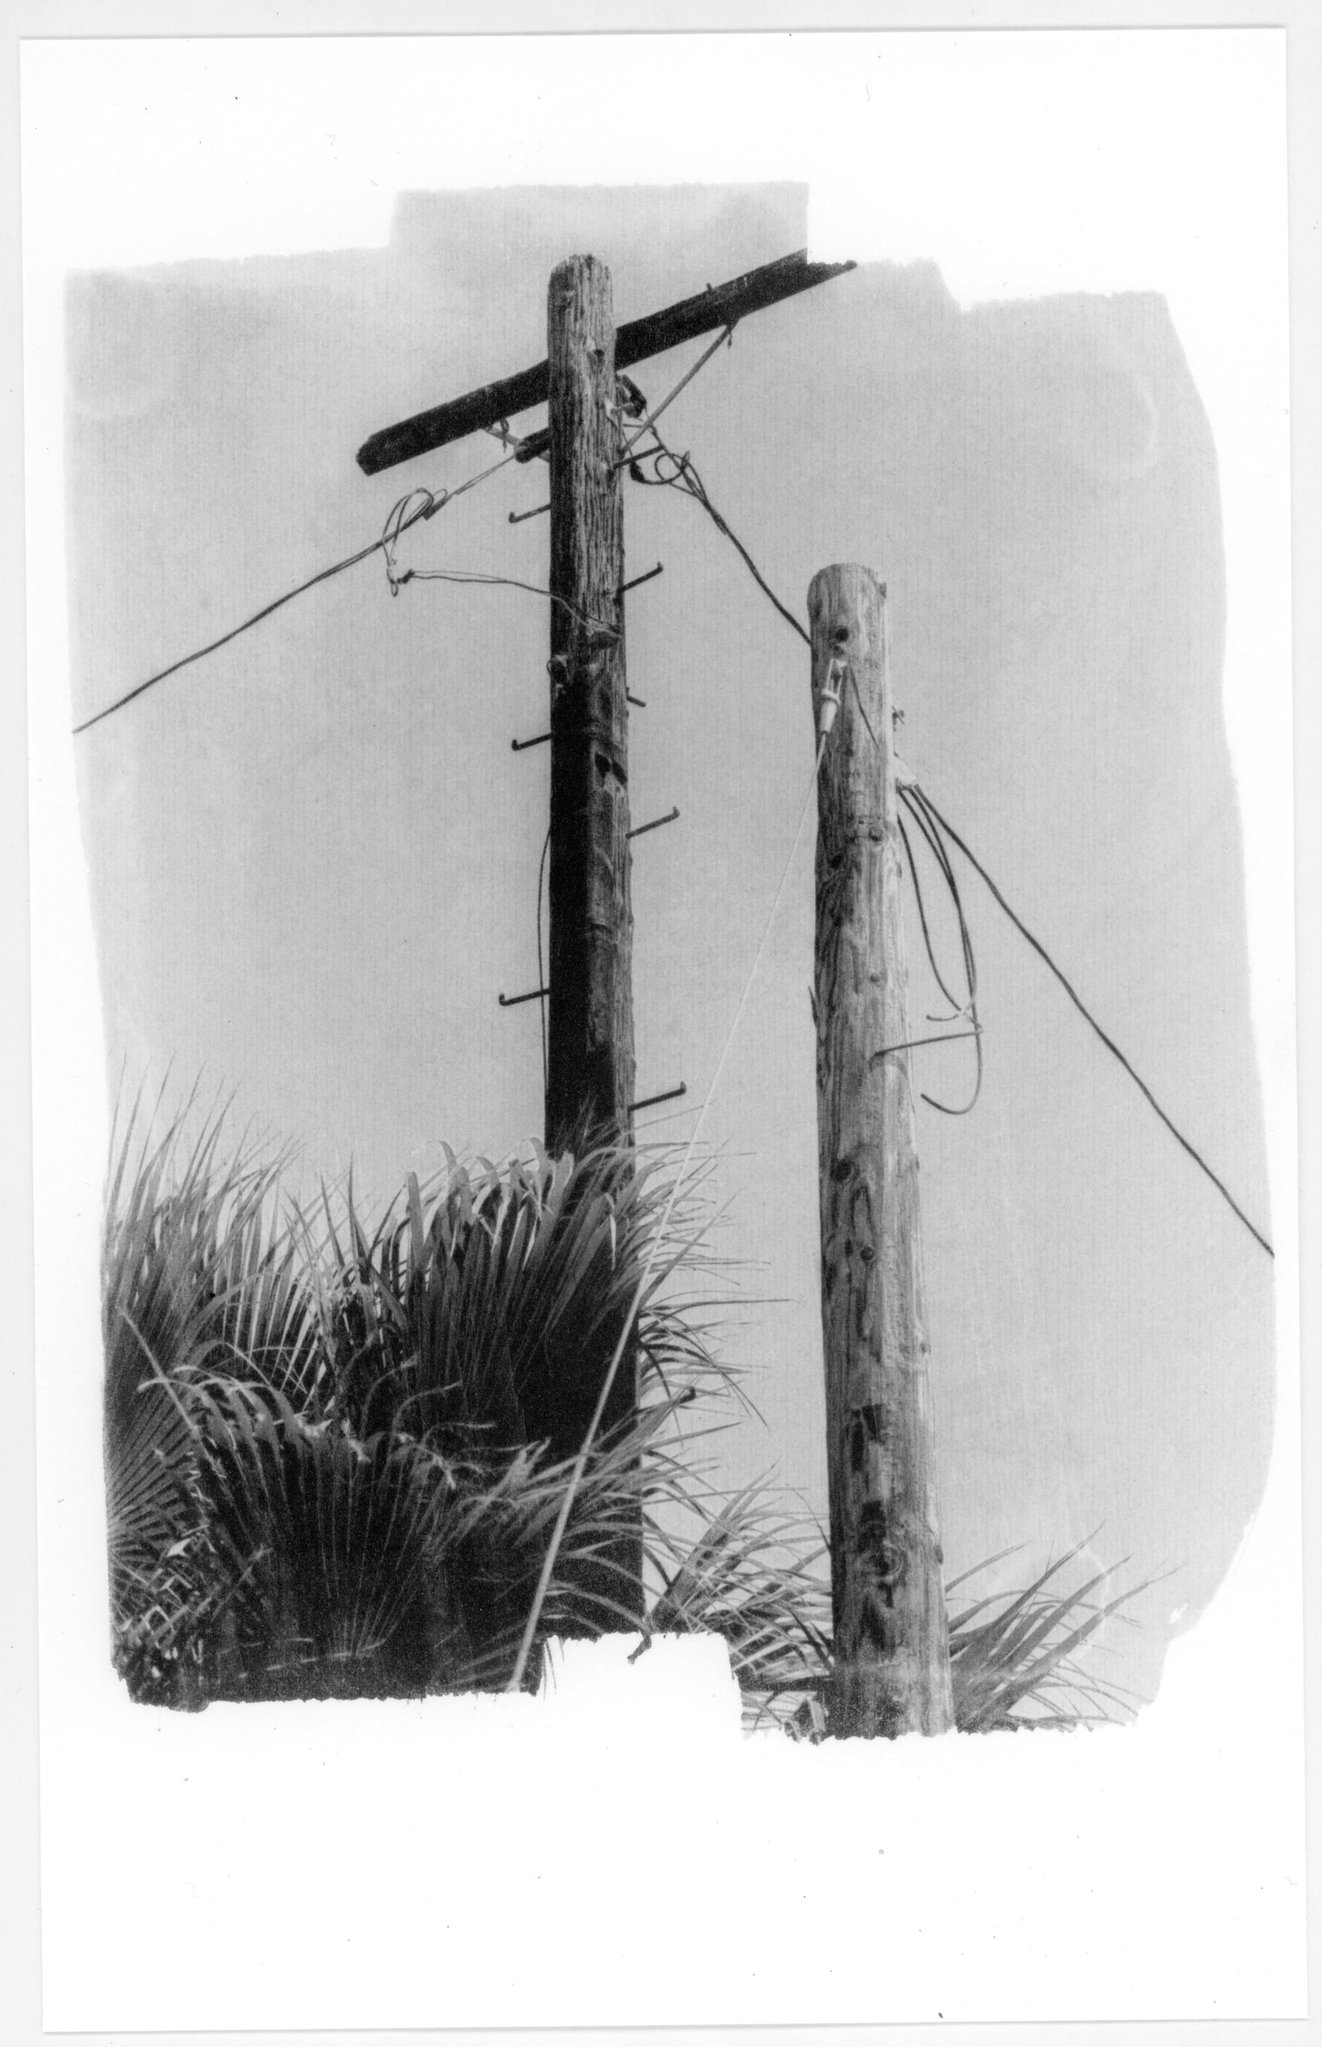
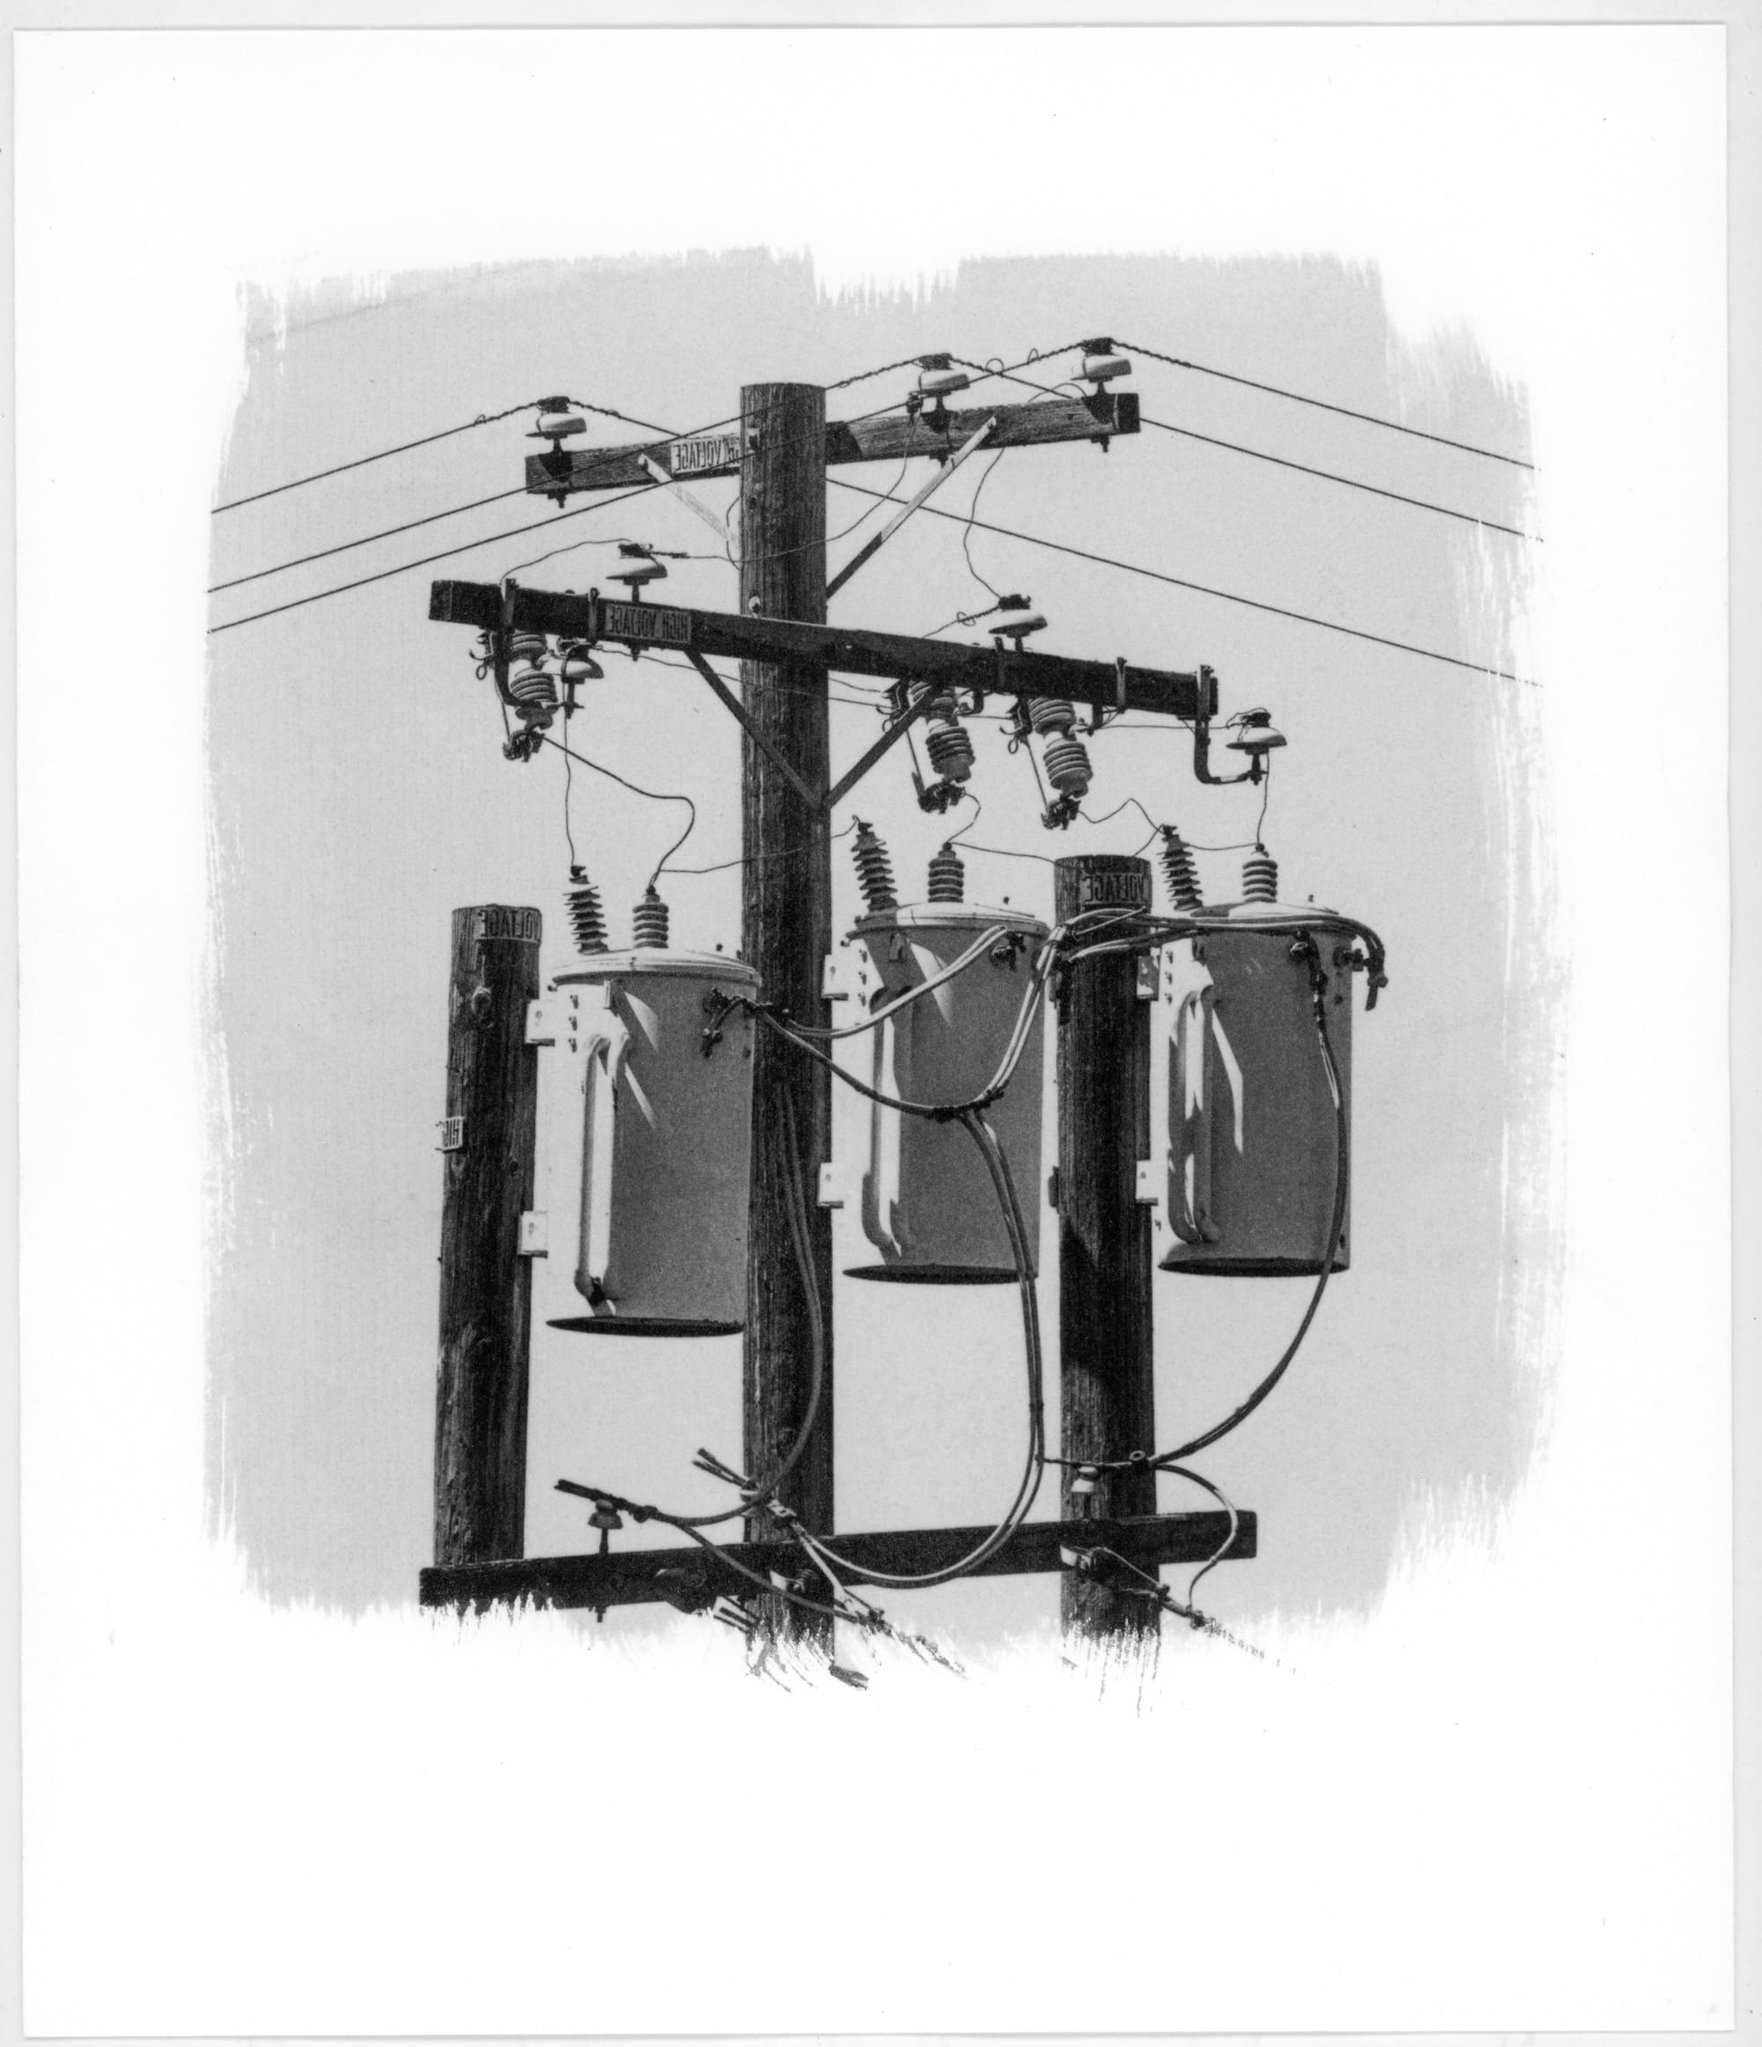
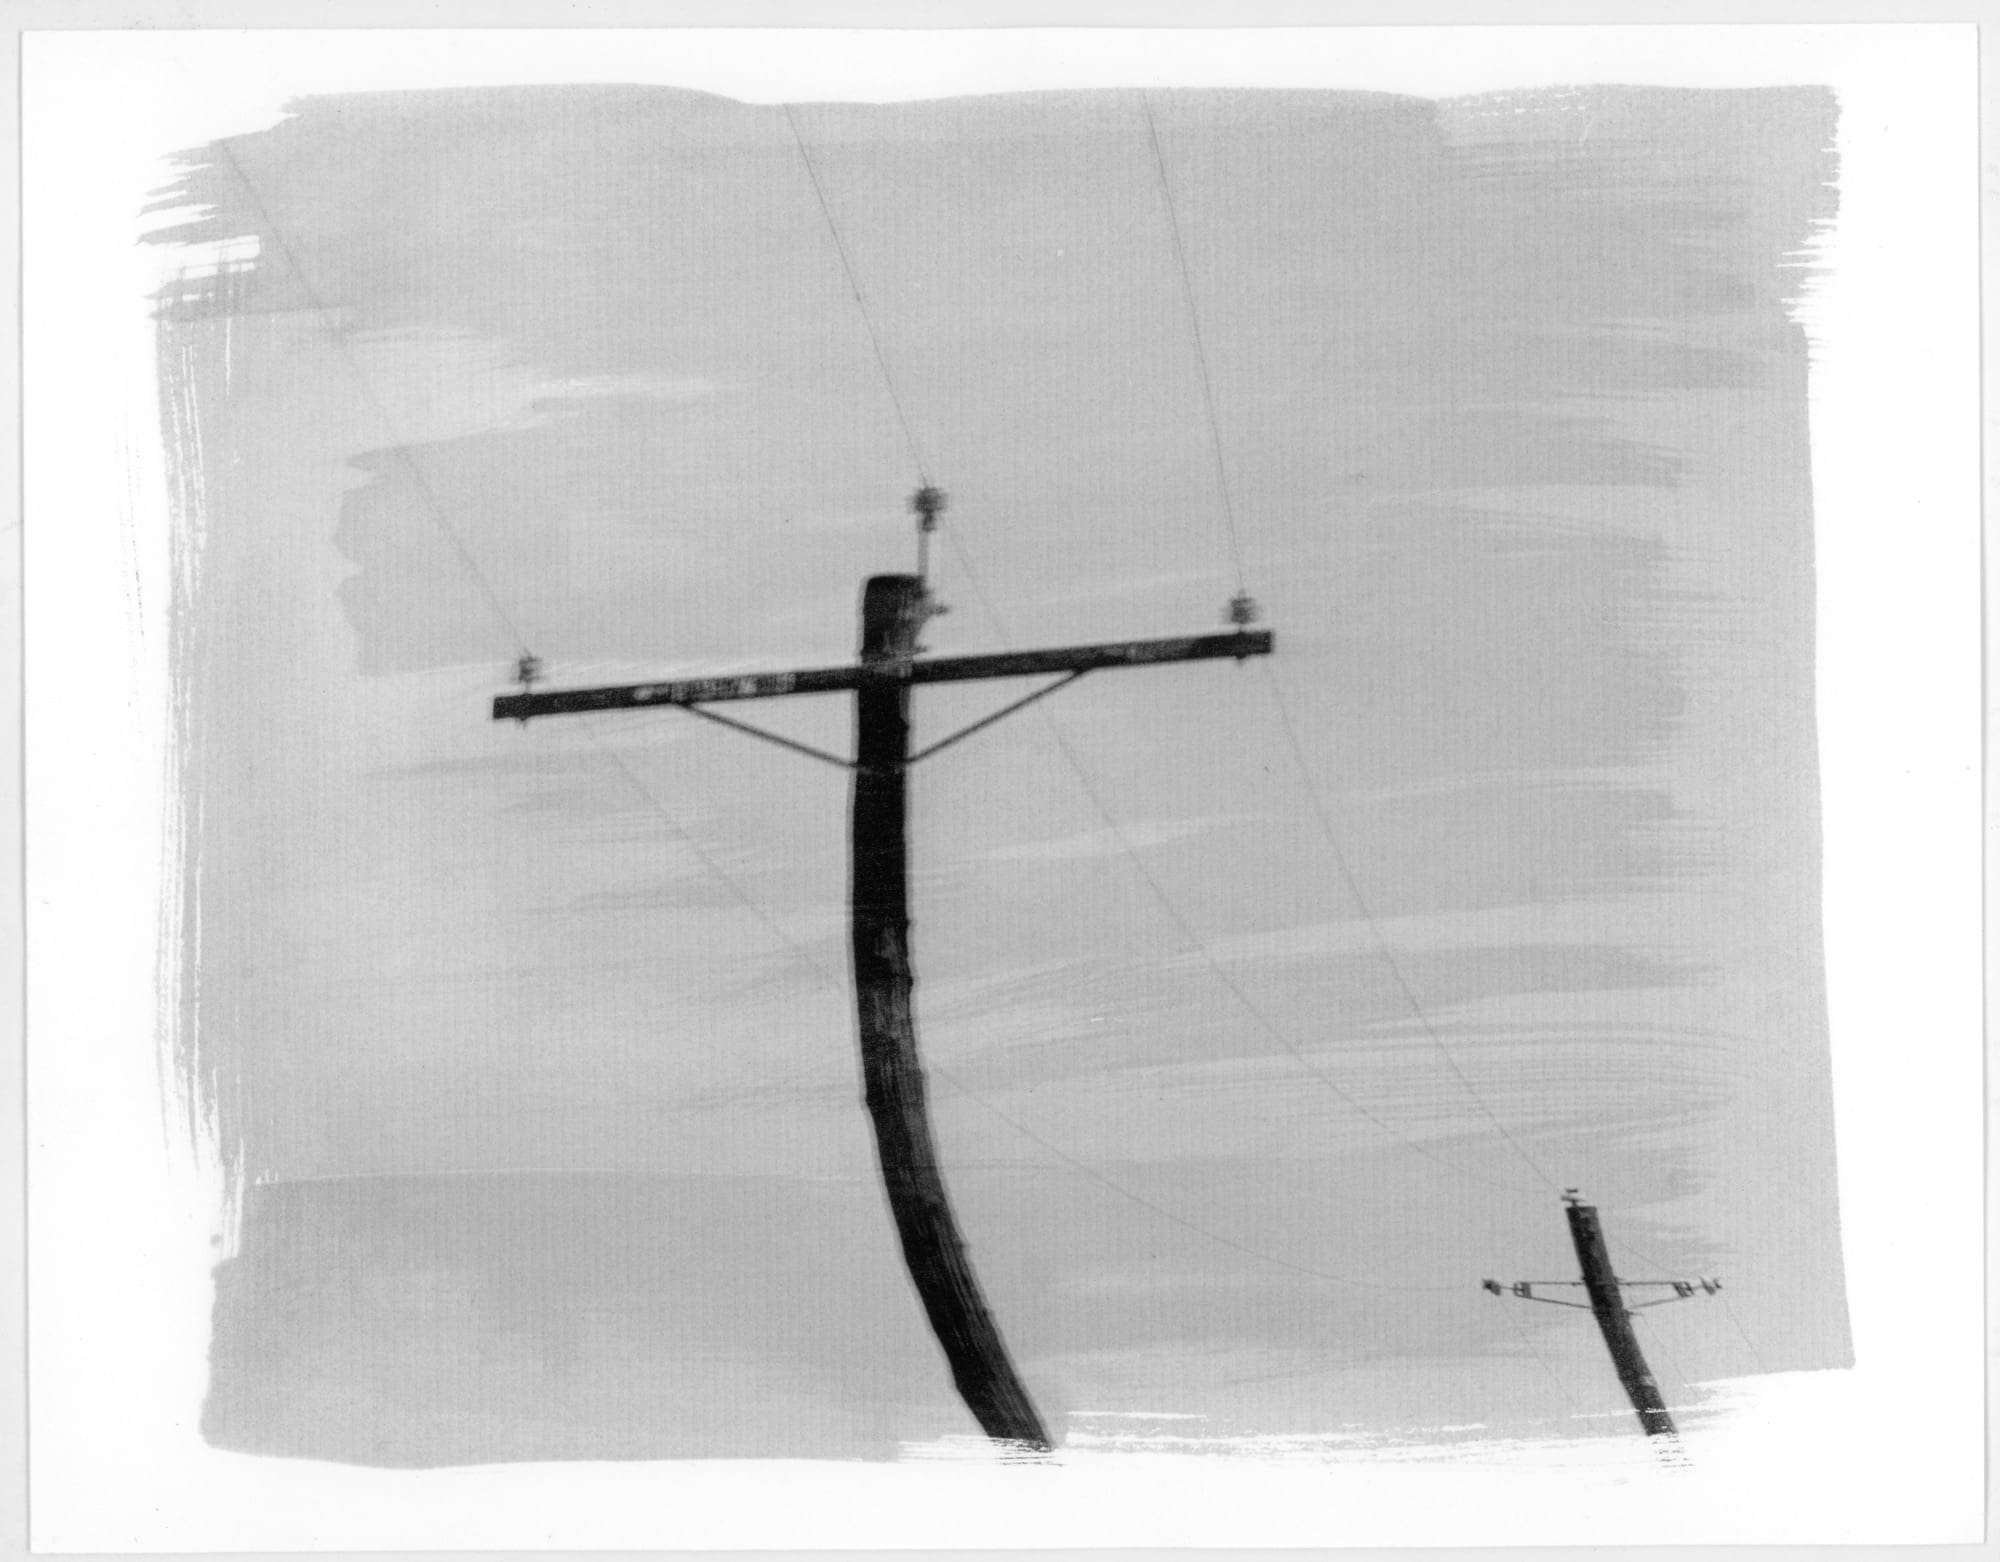
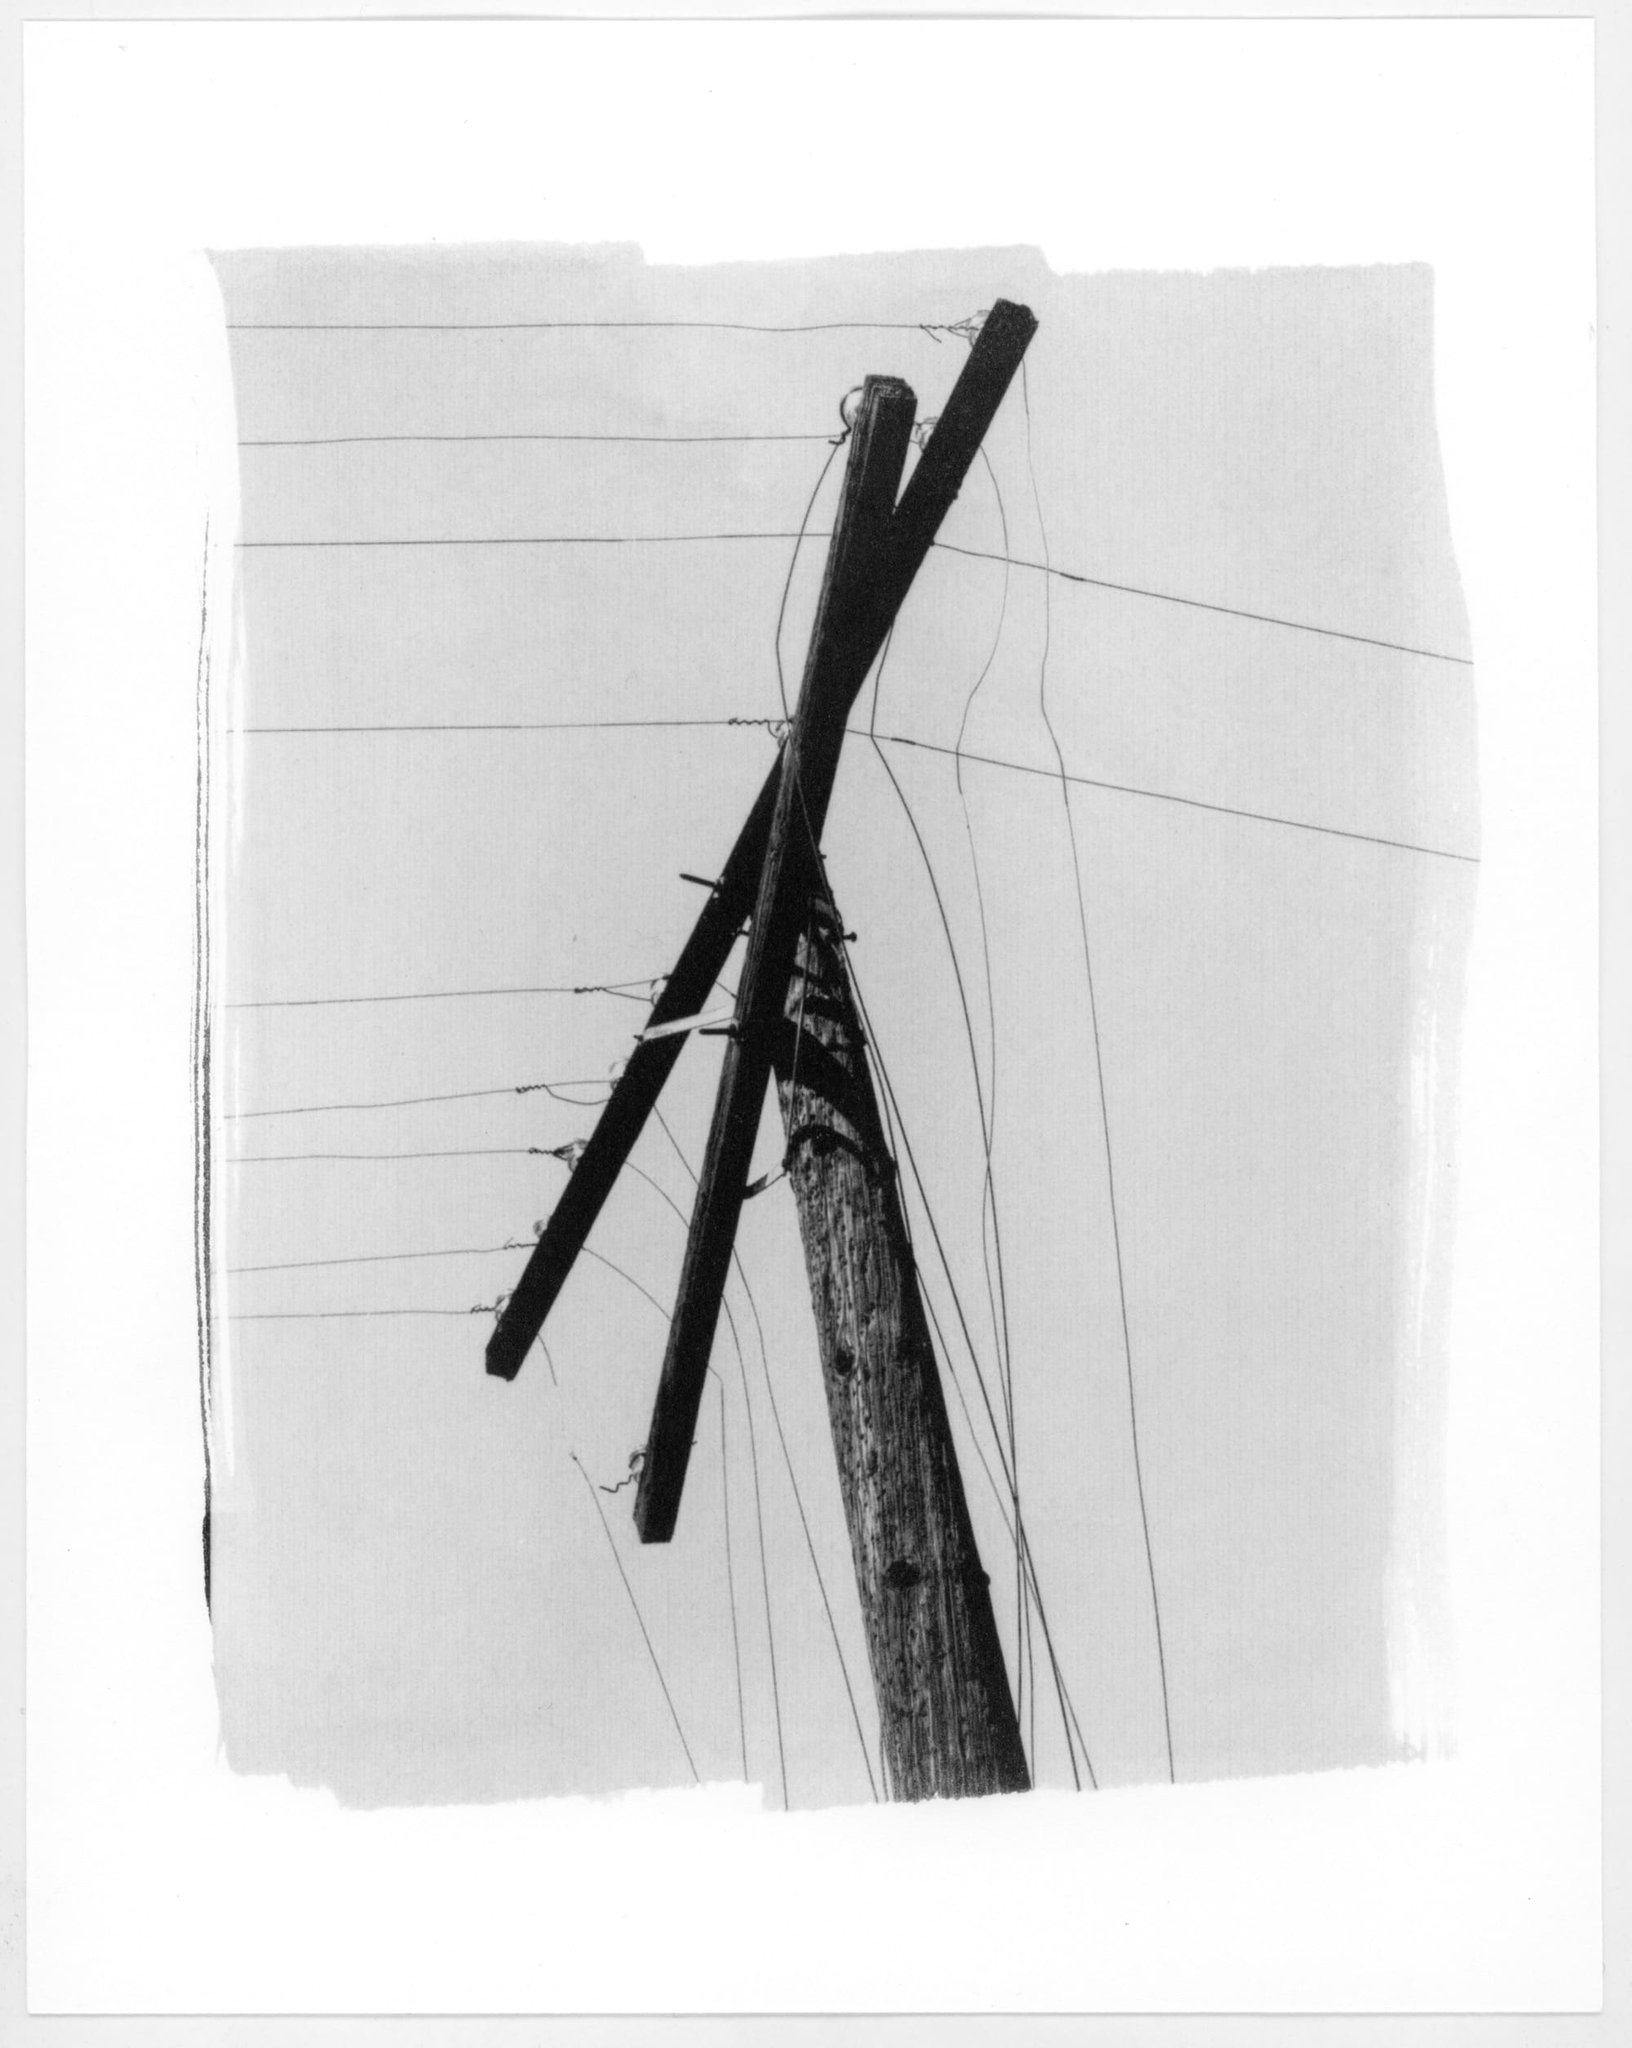
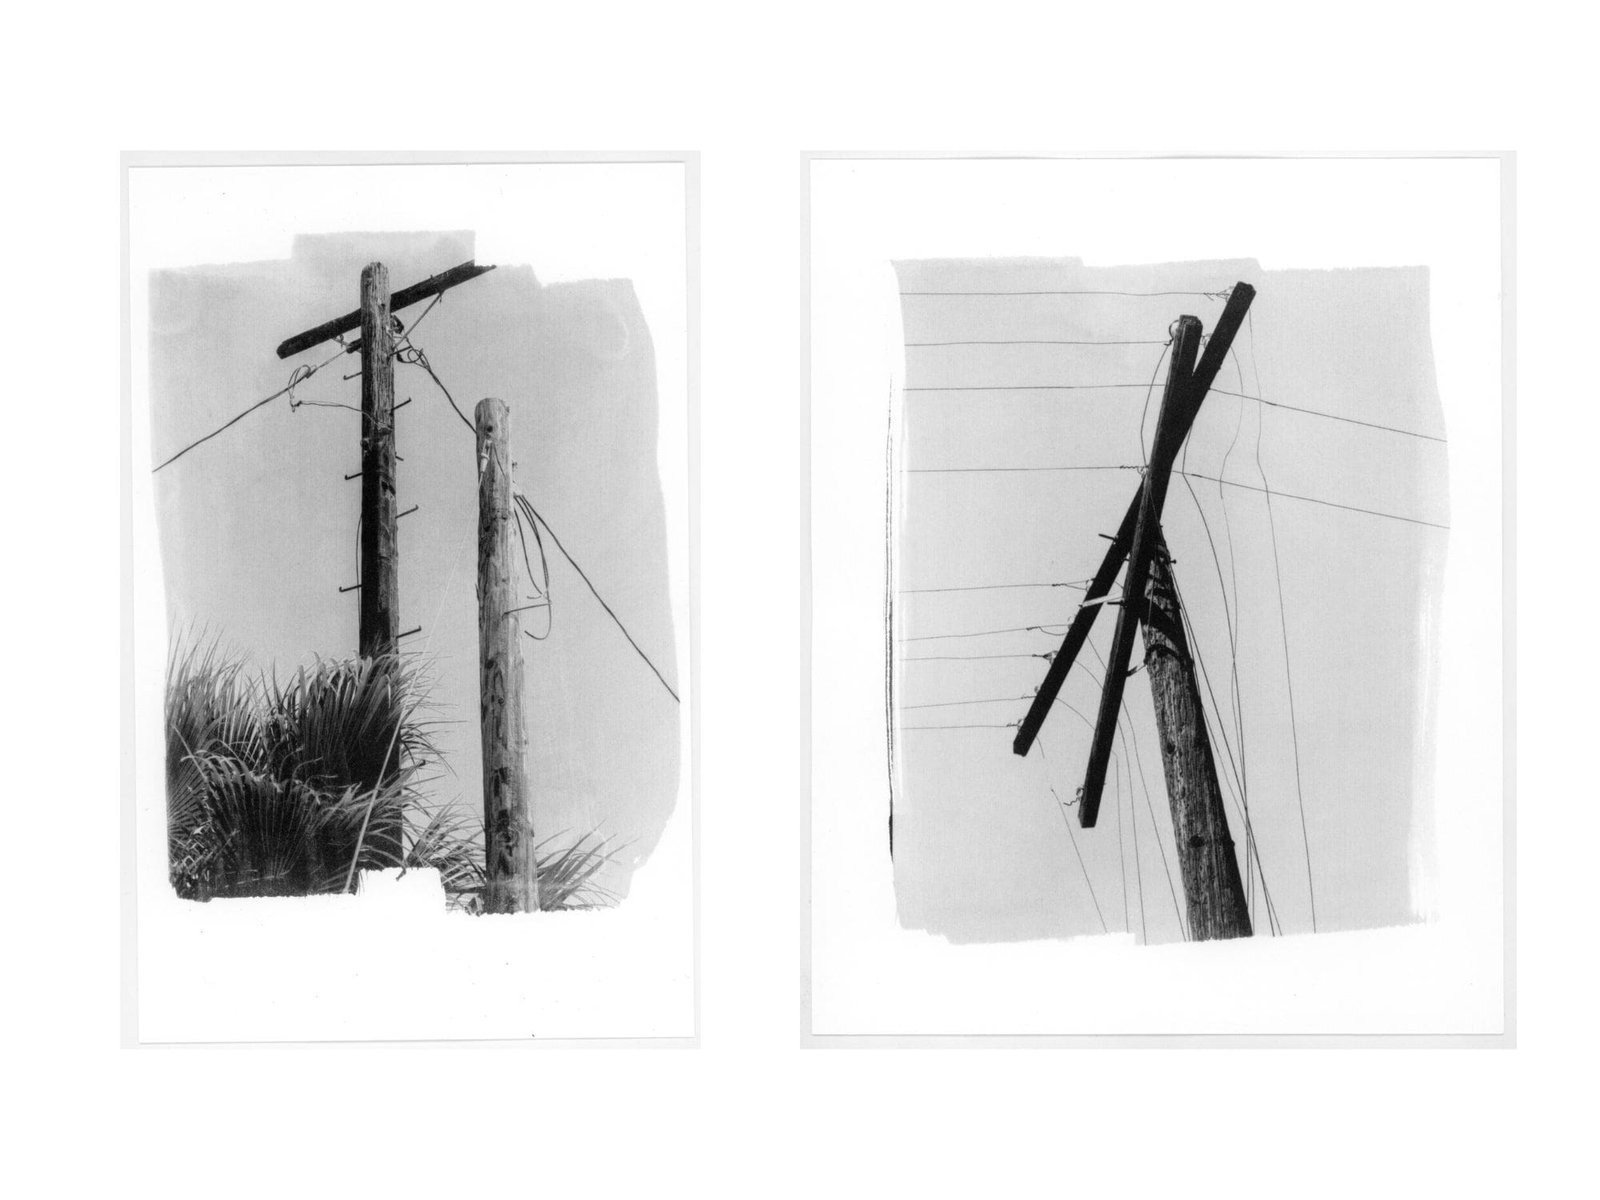
When learning this process, I again went the self-taught route. Scouring through forums and articles to learn each step and all its nuances. I went a step further this time, and followed recipes to mix my solutions from scratch, buying all the chemicals separately and in bulk to save money. Kallitype printing is a very accessible process that does not require much. You can start with a starter kit that can be found in multiple places on the web, any inkjet printer (to make digital negatives) and the sun! One of the main things I took away from this was how similar it was to making cyanotypes. I would say it’s like an elevated, elegant cyanotype in which you have a lot more control over. I recently Made a series of prints for my project called “Westward Veins”, here are some examples and more can be found on my website or instagram: www.gabrielpaiva.net https://www.instagram.com/thegabrielpaiva/